Here you learn on how to control and visualise standard KNX room thermostats with ayControl on iPad, iPhone or Android devices.
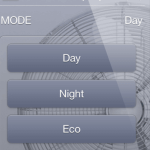
Note: There are different modes to interact with KNX room temperature controllers when it comes to setting the desired temperature.
Most of them are supporting setting the desired temperature via absolute and relative values and some are also supporting relative values via (e.g. 0.5°C) steps counted from a value which is programmed via ETS. In this document we are describing the absolute temperature method.
Finding the KNX Objects for Setting and Receiving the Desired Temperatures and Current Temperature
You have to find the relevant 3 objects in ETS for temperature – typically they are using the 16Bit / 2Byte (DPT 9.*) float datapoint type.
Set set-point temperature
Although this object will be named differently depending on the brand of the KNX thermostats, it’s existing in almost every product. It is used for setting the absolute value of the set-point temperature (DPT 9.*). Assign a group address to this object. This group address is later used by ayControl to modify the desired temperature.
Read set-point temperature
This object is also named differently, but it’s used for retrieving the currently chosen absolute set-point temperature from the KNX room thermostat (DPT 9.*). This feedback is important because the set-point temperature can be changed in different ways (e.g. with push buttons directly on the KNX room thermostat, via another ayControl or another KNX visualization, etc.). Thus ayControl always must be able to display the correct current set-point value. Assign a group address to this object. Make sure that the read-flag for this object is set in ETS.
Read current room temperature
This object is used for retrieving the current temperature in the room. Displaying the current temperature is not only convenient but especially useful ff you want to know the temperature when you accessing the KNX installation remotely with ayControl. Assign a group address to this object. Make sure that the read-flag is set for this object in ETS.
Important – testing the KNX programming part with ETS first
So you finished programming steps with ETS and downloaded it to your KNX thermostat. Now it’s time to test if everything is working properly on the KNX side. Connect with ETS to the KNX system, open the KNX group monitor and test if you can read the correct values for “Read absolute set-point temperature” and “Read current temperature”. Then a write a new Value (e.g. 21.5) to the “Set set-point temperature” address. Afterwards read again the “Read absolute set-point temperature” address. Check if you receive the right new value.
Preparing the ayControl KNX configuration in the ayControl Editor
If all settings on the KNX side are finished and the tests with ETS as described above are positive, then it time to prepare the ayControl configuration.
Import and join Group addresses
Export your last version of the ETS project as .knxproj file. Open the ayControl Editor, import this last version of the group addresses as .knxproj file to your (existing) ayControl configuration. Now you have imported all addresses which are necessary for HVAC control.
Add / Join: Now select the “Set set-point temperature” related group address in the left column (as Write address), then select the “Read set-point temperature” related group address in the right column (as Read-/Feedback address). Then join them together by pressing the Add / Join button.
Select the “Read current room temperature” related address in the right column (as Read-/Feedback address). Then add it by pressing the Add / Join button.
General information on how to import and update group addresses in the ayControl Editor is further described in the manual.
Create a “Slider” for set-point control
A Slider is the control element for changing the set-point temperature in a specified range (e.g. 16-28°C). While creating a new Slider control element, the ayControl Editor will only show you compatible group addresses. Select the joined group address for setting and reading the set-point temperature here, and set a desired min. and max. value (e.g. min: 16, max: 28).
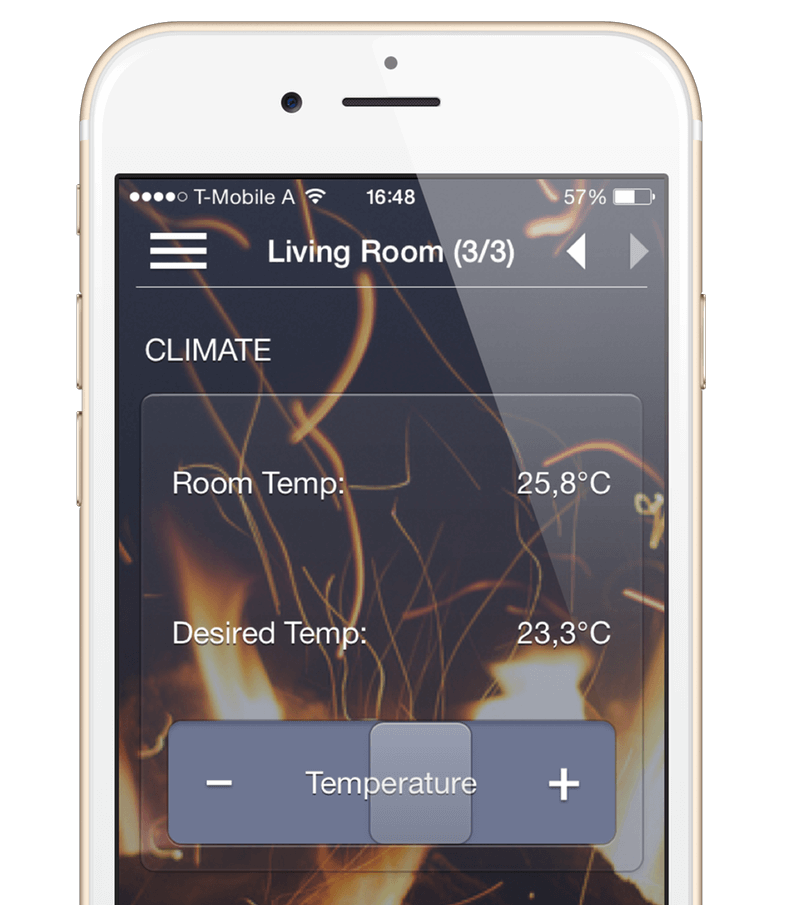
Create “Value Displays” for displaying set-point and current temperature
To display values for both set-point and current temperature, use two controls of type Value Display. Create a new Value Display using the joined set-point temperature value group address for the first. Set the right value unit string (°C or °F) and you are done. Do the same with the “Read current room temperature” address. Use these 3 controls by placing them in the desired page in the profile structure.
Using the KNX room thermostat in ayControl on your iPad, iPhone or Android device
If you are done in the ayControl Editor, do some testing. Please transfer the project to your iOS or Android device and check if ayControl can control the room thermostat. ayControl should be able to set the set-point temperature and display actual values of set-point and current temperature. Of course displayed value should be affected if the room thermostat is controlled in another way.